Adding Advertising to Jekyll
This blog post is part of a series around building a website with Jekyll for hosting on github pages
In this blogpost we will have a look on how advertising can be added to a Jekyll website.
As this is the first time I’m adding advertising on a site I’ll be updating this post when I gain more insights.
For my blog site I’ll be using Google AdSense, setting it up is pretty easy, just follow the procedure as described on the getting started wizard
After creation of a site within Google AdSense 2 actions need to be done to get ads on your site
1. Include AdSense javascript code snippet on each page
Within Google AdSense navigate to
Sites > Your site
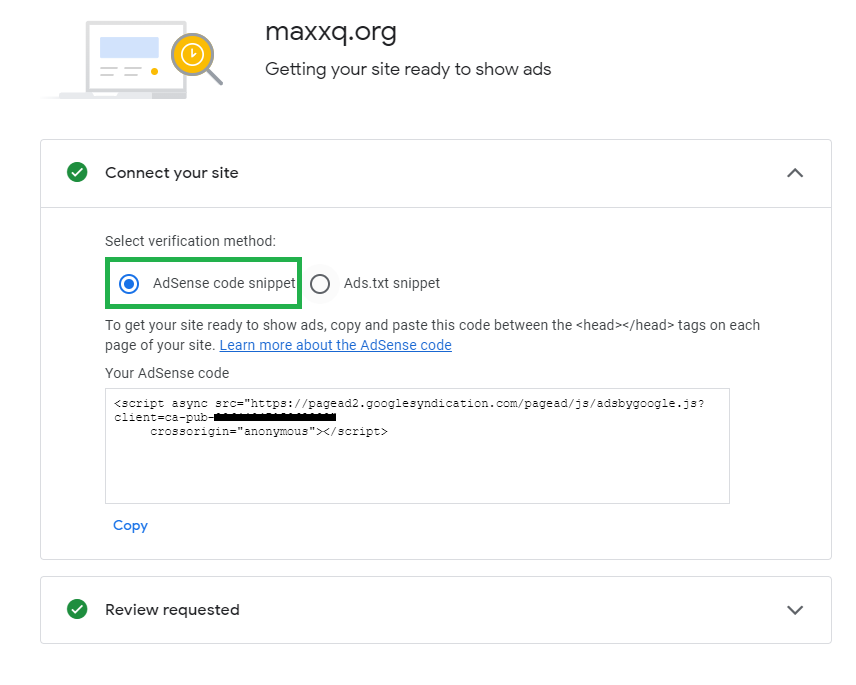
Open the connect your site section and copy the code snippet

The code snippet needs to be included on each page. To achieve this we’ll need to make a change in the includes html content of the minima theme. More specifically the script needs to be added in the <head> of each page. From the github repository for the minima theme copy the head.html and store it in your jekyll site at the same location as where it’s located on github. e.g. _includes/head.html
Then copy paste the google adsense script and past it before the head closing tag within head.html
2. Include ads.txt in the root of the site

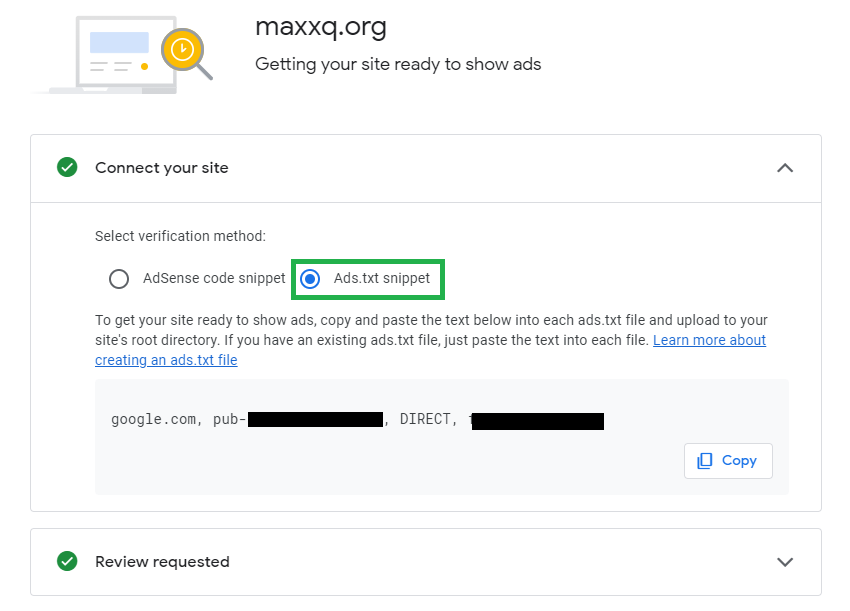
Copy the content of Ads.txt snippet and store it in the root of your Jekyll site.
Publish and validate AdSense snippets
Publish the changes to the github repo, after the github action to publish the site has finished verify in the browser that:
- the ads.txt is available at https://yoursite/ads.txt
- each html head section contains the Google AdSense javascript section that was included by inspecting the html source code
Validate ad generation
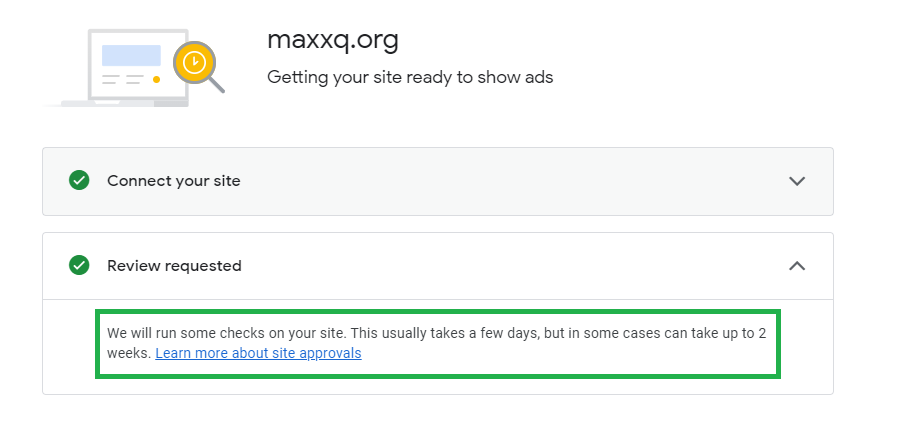
Google AdSense will now review your site, which can take up to 2 weeks.

Before this review no ads will be shown on your site. In the ‘Site’ section the status of your site can be checked:
