Testing a Jekyll Website with Docker Locally
This blog post is part of a series around building a website with Jekyll for hosting on github pages
This blogpost will explain how docker can be used to locally create and test a Jekyll website.
Preparing a docker image and container
Github pages can only be used with a specific version of Ruby And Jekyll. Define a docker images that uses the Ruby 2.7 alpine image and use apk to install the Jekyll 3.9.3 Gem:
Create a dockerfile:
FROM ruby:2.7-alpine
RUN apk update
RUN apk add --no-cache build-base gcc cmake git
RUN gem update --system && gem update bundler && gem install bundler jekyll:3.9.3
Build the docker image:
docker build -t jekyll .Create the docker container
docker container create -it --name jekyllcontainer -p 8080:4000 -v /mnt/c/sitefolder:/usr/src jekyll

-it ensure to create a container that can be run in interactive mode
-p 8080:4000 will map port 4000 inside of the container to port 8080 on the host
-v /mnt/c/sitefolder:/usr/src will mount the local folder /c/sitefolder to the path /usr/src in the docker container
If docker is running on a windows systems, to make folder mounting work correctly docker must be running in ‘linux containers’ mode, WSL2 needs to be activated and the command shown above is executed from the ubuntu Windows Subsystem for Linux shell.
Launch the container and start an interactive shell
Start the container
docker start jekyllcontainerLogin to the container with an interactive shell
docker exec -it jekyllcontainer shCreate a new Jekyll site
Within the shell of the container test if Jekyll 3.9.3 is correctly available
Jekyll --versionNavigate to the /usr/src folder and create a fresh Jekyll site. Ensure correct ruby gems are installed and unnecessary gems are removed.
cd /usr/src
jekyll new mysite
cd mysite
bundle install
bundle clean --force
A folder mysite is being created with several new files
Start serving the Jekyll site
cd mysite
jekyll serve --host 0.0.0.0
'--hosts 0.0.0.0' will tell Jekyll to run on all network interfaces.
Check on the host system if the Jekyll website can be reached by browsing to http://localhost:8080
Modifying content
After creation of a new Jekyll site an example post is created in the _posts folder. To create a new post just copy the existing post and modify the name and content.
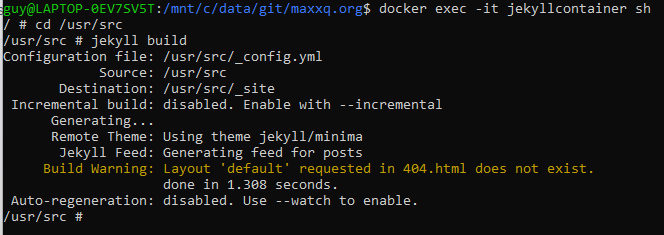
Whenever a change is made to any of the files jekyll needs to regenerate the html content. Execute the jekyll build command from within the container. This can be achieved by running a second shell in the docker container.

Publishing to github pages
Next post will talk about how to publish a jekyll page on github pages